Tuesday, June 12, 2012

Long Overdue

Well this post is long overdue.  Between both of us going back to work, traveling to weddings, and friends and family visiting I have neglected posting any updates.  So, with that in mind I will do an overall update on our progress since the last update.

Most of the work has been outside since the last update.  We really wanted to get our some progress on the porch and patio.  The porch screening had to be put off because none of the local stores carried screens with an adequate width to cover the opening.  With that on the back burner we got to work on the patio.

The first step was excavating and placing the forms for the patio.  This was by far the most physically demanding step.

The radius was formed using MDF Bender boards.

This is before the middle has been excavated.  All the high areas that are closer to the camera had to be knocked down and the dirt was thrown down to the low area in the distance.  Once excavated the area was 6" deep.

 Using Craigslist I found a guy that came out that very same morning.  His estimate and his knowledge of stamped concrete was in line with what I was looking for.  The pour was scheduled for 3 days later.
In this picture you can see the rebar grid that was laid in the concrete.  The rebar gives the brittle concrete more tensile strength to resist heaving, which is really not a problem down here but I usually go with overkill. 

The concrete is then colored with a color hardener which is troweled into the actual concrete. Not only does the color hardener color the concrete, but it also increases the hardness of the exterior of the concrete.   A second color which is a release agent is broadcast (i.e. hand thrown) onto the concrete immediately before the stamps are laid down.  The stamps are numbered and are laid in a grid pattern.  A rubber tamp is then used to create an impression of the stamp in the concrete. In the above photo you can see the dark brown color hardener and the lighter tan is the release agent.

This is a few hours after the stamping was completed.  The long lines are expansions joints.  In this photo the release agent and the forms have yet to be removed.

The next day I used a broom to brush the release agent off the patio.  The Weber charcoal was then placed onto its new home, but it looked lonely.

We decided that it needed a big brother.  After having this grill for about three weeks I can say that so far it is one of the best purchases we have ever made.  I obsess over reading reviews and researching before I make a purchase.  The Weber Genesis E330 had the highest reviews in its price range and is living up to it.

Gratuitous food pic.  Also seen in this pic is the new patio set we got.  The Texas burnt orange was not my first choice, however it has grown on me.

Above is a picture with the screens in and the caps on the tracks.  After getting the base system up the screening and capping of the tracks was very simple.  I also highly recommend the Screen tight system for anybody looking to screen in a porch.  One of the biggest example is that with this system I was able to span large gaps and did not have to break up the upper portions of the porch.

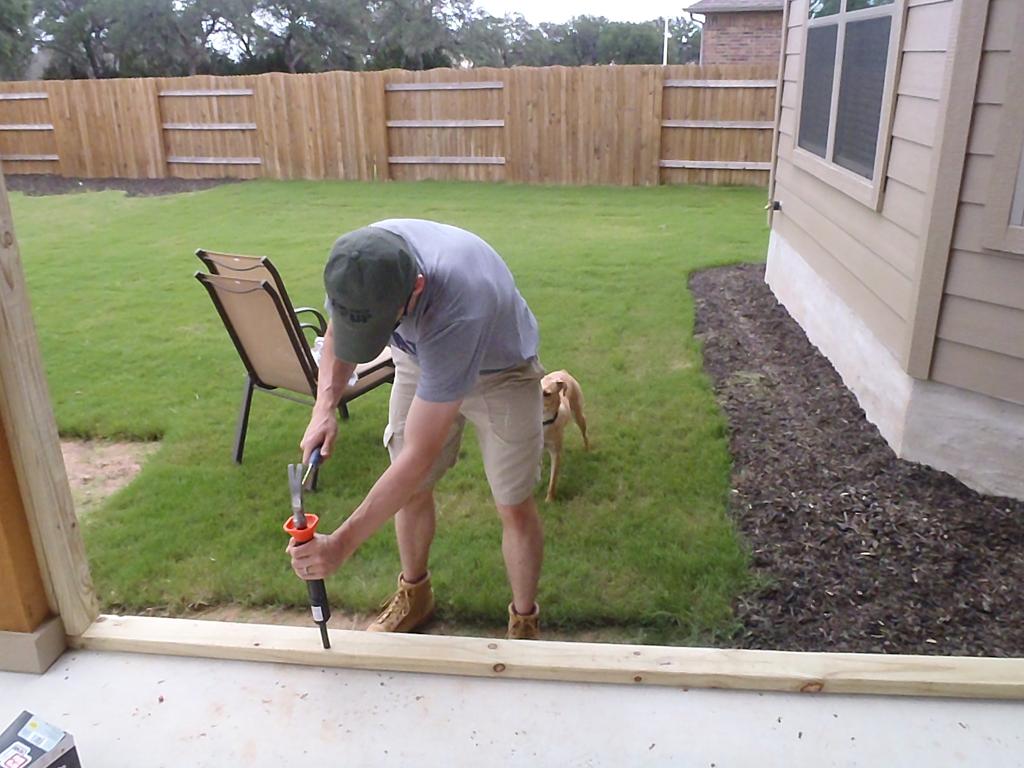
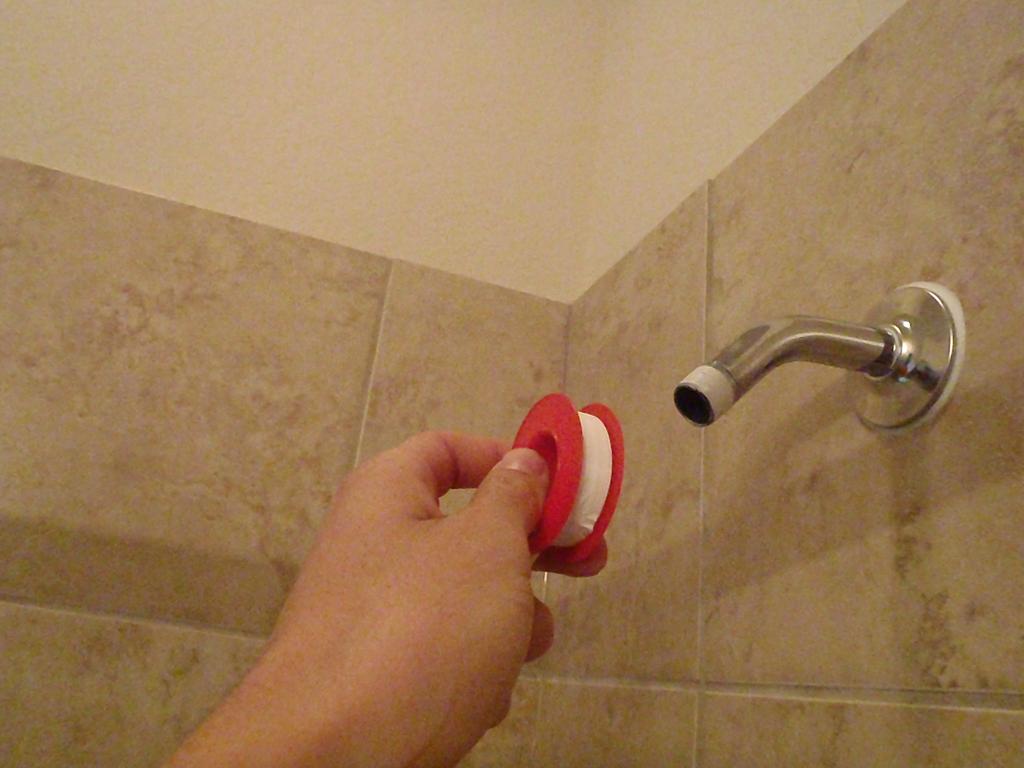
Much to the puppy's dismay I found this system at home depot.  Simply put, this is the puppy's "water closet".  I intended on putting a small fence that matched the other fence here.  However, sometimes convenience trumps aesthetics. This may eventually be filled with river rock to prevent the mutt from tracking mud into the home.

Our favorite photo from our wedding looks perfect over our fireplace.  We really dig this clean cut appearance with the candle holders helping to extend the mantle and ground the picture.


After the furniture store mixing up our order multiple times we finally had everything delivered.  This picture does not do the living room justice.  It really has that southern rustic charm, we will probably bring some more of the blue accents pillows out with either an accent wall or by some other means.


I was finally able to hang our hammock up.  This hammock is a cotton "Mayan" style hammock. It is huge, and it is impossible to not fall asleep in it once you lay down.  Also seen in this picture are the wife's first attempts at gardening.  I am pleases to say that after 3-4 days the plants are still alive.  The final detail in this photo is the ceiling fan.  This and its twin not seen were a house warming gift.  They are really going to come in handy considering the fact that the thermometer has hit 100 degrees the past two days.

We have also been hanging art around the house.  Eventually we will have it all up.  The office looks great with our diplomas hung up, can't wait to have to realign them after the wife finishes her PHD.

That's all for now.  Update will continue as we finish things.  Next up is some planting and transplanting around the yard. 

Wednesday, May 16, 2012

Quick Update

This update is past due as I alluded to last night.  I didn't take pictures before I began working today so the in between progress was not documented.

Before I begin with the progress I will address two questions I have been getting asked.

1. "Where did I learn how to do all of this stuff?"
Well, I grew up working construction as a summer job.  I was a "laborer" which means I did what ever I was told on any given day.  I had some great bosses/uncles that gave me the flexibility to learn an array of skills.  Most of what I have done to our house is outside anything I ever did on the job site, but by looking at "how to" video/articles on the net, some creativity, and a lot of patience I pushed through any struggles.  I suggest you watch a lot of DIY/HGTV, then when you see something you want to do, research it endlessly, ask pros that do it questions and then attempt it.  Most things can be fixed if you make small mistakes, just don't try something permanent like stamped concrete until you're comfortable to do so. 

2.  How do I have the time to do all of this?

Up until a week ago everything was done only on the weekends.  That meant that we really had no social life.  We would drive down 4.5 hours, work until we passed out, wake up, work until we passed out, wake up, work until we had to drive 4.5 hours home.  Now we have the luxury of living here.  I am also in transition between duty stations right now, which allows me to take extended leave.  In about a week you will see that progress is only made at night or on the weekends. 


Ok onto the good stuff.

So yesterday it rained here all day, so I thought it would be a good day to do some inside work.

The inside work I set about doing was running CAT 5e Network cable throughout our house.  This is mainly because 1.  I want to have a home security camera system 2. I need Ethernet cable to the back of our TV for our Direct TV On demand.
This is a much easier proposition than it turns out to be.  Our home is two stories tall, the attic spaces are not continuous, and there are other obstacles I will detail. 

To begin I attempted to find a place to pass the cable from out attic(third floor) to our office on the first floor. 
This is the view from the top of the attic stairs.  Our attic extends about twenty feet around the corner to the right.  If you have never crawled around in an attic on a humid Texas day, it's not fun. 

Before I move on some essential tools are a snake, and "fish poles", the fish poles actually glow in the dark which comes in handy.

So after getting the snake stuck for roughly an hour, in a hole that I drilled far to small I was able to pass from the attic to the second floor. 

 If you know how to pass from the attic to the first floor without opening the walls please tell me!  However, I don't think it is possible.  The first(well second after getting the snake stuck) real issue was trying to pass from the second floor to the first floor.  The problem was that there was both a horizontal 2"x4" on the floor of the second floor, and the ceiling of the first floor.  There was also a gap of about 5-6" between the two plates.  This meant I had to drill down from the second floor at an angle, then up from the first floor at an angle and then try to pass the snake though two holes that did not line up.  I was not successful until my assistant came home and helped me hook it with the "Fish pole"


This is the wall in the first floor office.  The top hole was to allow me to drill through the ceiling plate.  The middle hole was because the building crew installed a horizontal "fire block" basically it is a horizontal 2"x4" that is meant to segment the open space to make it harder for fires to propagate.  The bottom blue box is the final location of the Ethernet box.  The office is the location of the router so this is the start of the network.


So that was a success!!
However, that was only one side. The other end will be a network switch that will split the the Ethernet cables and also power the IP cameras I intend to use. 

I took a break, but then began working on the other side.  I started the same process. but immediately ran into issues. 


The first picture is the first floor, the second is the second floor.  If you compare the distance between the stairs and the wall you will see that they don't line up.  Another route had to be found(after I had already put holes in the wall.)

This is the walk in closet in the guest bedroom.  Notice the bump out in the back left corner.  After some attic crawling and opening up spots the builder had closed off I found that this area passed from the crawl space above the garage all the way to the third floor attic.  This was convenient because the room I was routing to was attached to the garage. 
This picture was taken after I had routed the CAT5e cable through that crawl space.  You can see how the insulation is all mashed down because I had been laying on it.  I am thankful that this insulation does not itch like the rock wool I pulled out of a 1950s home. 

After finding this pass through area i also put Coaxial cable, and an additional CAT 5 cable for future expansion. 


All that was left was to patch the holes i created.  These will get to coats of patch, with sanding after each, and then textured to match the walls. 


I then moved onto installing the screen track system on our porch.  This system is called "screen tight" and can be purchased at most lowes. 

These are a couple of scrap pieces of the track left over after cuts.  They have pre-cut holes for using screws to attach but apparently I had cut that portion off of these pieces. 

Here you can see one side completed with the track installed.  Also you can see the doggy door and the stairs for our pup.  the stairs will get finished with lattice to give a more finished appearance. 

Pup is a quick learner. 

Can't wait for this thing to be done, I'm going to smoke a big cigar when it is. 

Tuesday, May 15, 2012

Settling In

It's been a few days since our last update, we have been getting settled in and exploring the surrounding area.  We have also made some progress on some of the projects we have been wanting to tackle.

First we'll start with an update on the finished product of the built-in I did for our master closet. 
This was a simple cure for the closet envy I came down with after building the wife a built-in.  It is purely utilitarian and does not have the details like crown and cove moldings.  However it serves its purpose and houses all my shoes, boots, t-shirts, and assorted clothing.


The major project we have undertaken is screening in our existing porch.  Several posts ago we posted the design plans and the Home Owners Association finally came through with the approval.  With that in hand we got underway.  

Using our mitre saw really speed the project up, it would have been much slower using the circular saw.

Securing the bottom plate with a ramset.

Everyone is getting involved.

Puppy seal of approval

If you're going to use the impact driver like a girl, use it like a big girl

Somebody is not pulling her weight

I don't why i was cutting so close to the edge, this looks unsafe

Making some progress.  By the end of the first day we had the frame completed.

The second day was consumed by adding 66 balusters.  This was a huge pain, every single one had to be cut on both ends and leveled, then screwed into place.  Screwing them into place usually resulted in them moving out of level.  Many four letter words were uttered.  

Almost done as the sun is setting.

Boots are off that means I'm done for the day.  It really is looking good.

This is the doggy door that will lead to a small fenced in area to keep the dog contained when she does her business.  We're in the process of training her to use it, which is going very well.


I've actually made a lot more progress, but am far to tired to take pictures right now.  I was crawling around in the attic all day running CAT 5e cable, the attic is warm during the day in Texas.  For now on I will do attic work at night. 

Thursday, May 10, 2012

Finally Home!

We're finally home.  It has been a long time coming and it feels just as good as we thought it would.  It's nice to finally say that we're Texans.

The move itself was uneventful, which is always a good thing when moving.  Since we're still young pups we moved ourselves.  I can't recommend Penske moving trucks enough.  We used a 16' moving truck, which was more than adequate since we had already moved a good deal of our belongings.  It was also nice to not have to tow a car behind the moving truck.  We've done that before, it's a nightmare. 

Since moving in most of our attention has been on unpacking and getting settled.  We used the moving truck to pack up the empty boxes and moving supplies and hall them to the local dump.  Getting rid of all of that was a big victory for us.

We have tackled a few small projects. One of which was replacing the shower head in the Master Bathroom. The builder supplied shower head had terrible pressure and just wasn't doing it for us. We also had one of those handy 20% off at Bed Bath and Beyond so we set out to find a new fixture. We decided on a Moen Refresh fixture. It has a rain shower head and also a handheld fixture. The pressure is amazing on the new head, and the only drawback is that it is tough to get out of the shower.
 Simple, simple, all the tools involved
 Remove the old shower head
 Use thread sealing plumbers tape to prevent leaks
 Add the diverter and tighten with a wrench, use a towel to prevent marring
 Finished product.  It is awesome

It's awesome having our furniture here.  The bedroom looks great with our dark wood furniture.  Quick pic with the puppy lounging.
 Grass is doing great, the new sod is having a little bit of a tough time in some spots but overall it is taking nicely.


After moving all of our belongings into the home I realized that I had closet envy over the nice built-in I had made for the wife.  There was only one solution.  
I had to build the base portion first.  This will be a two level shoe rack.

Above picture is the shoe rack and shelving for t-shirts etc.

Safe has been secured to the wall using studs, and toggle bolts.  The bolts are internally driven, somebody would have to literally rip this thing and take the wall with them. 


Projects coming up:
Paint the new built in
Screen in existing porch
Lay patio in back yard
Built-in in office